Contrary to common belief, high NPK numbers on your soil test don’t guarantee a successful crop. This guide reveals that the real key to precision fertilization lies in understanding the physical and biological roadblocks in your soil, like compaction and nutrient antagonism. Learn to read the whole story your soil is telling you to unlock its true potential and stop pouring fertilizer onto unavailable ground.
Every farmer knows the frustration: you follow the soil test recommendations, apply hundreds of pounds of fertilizer per acre, and yet, the yields are disappointing. You’ve invested significant capital based on those N-P-K numbers, only to feel like you’re pouring money into the ground with little to show for it. This cycle of high input costs and underwhelming results is a major threat to profitability, especially as fertilizer prices remain volatile.
The conventional wisdom tells us to focus on the primary macronutrients and soil pH. While these are undeniably important, they represent only a fraction of the story. Treating soil as a simple chemical reservoir is the single biggest mistake in modern fertility management. It completely ignores the physical structure and complex biological interactions that determine whether a plant can actually access the nutrients you’ve applied. Your soil isn’t a bank account where you can just deposit fertilizer; it’s a dynamic, living ecosystem with its own rules.
But what if the key wasn’t just *what* nutrients are present, but *how* they interact and whether your plant’s roots can even reach them? This is the fundamental shift in perspective that separates wasteful fertilization from true precision agriculture. The problem often isn’t a lack of nutrients, but a physical barrier like a hardpan or a chemical imbalance causing nutrient “lock-up.”
This guide will equip you with a pedologist’s mindset to look beyond the surface-level numbers. We will explore how to identify hidden compaction layers, understand the critical balance between nutrients, time your applications for maximum biological uptake, and make tillage decisions that build, rather than destroy, your soil’s long-term health. It’s time to learn the language of your soil and make your fertilizer investment finally pay off.
To navigate this in-depth analysis of your soil’s true potential, this article is structured to build your expertise step-by-step. The following summary outlines the key areas we will cover, from diagnosing fertilizer failure to making informed tillage choices.
Table of Contents: A Guide to Advanced Soil Test Interpretation
- Why Your Fertilizer Fails Despite High Application Rates?
- How to Take Soil Samples That Reveal Deep Hardpans?
- Lime or Gypsum: Which Amendment Fixes Your Clay Soil?
- The Tillage Habit That Destroys Soil Aggregates in 3 Seasons
- When to Apply Nitrogen to Minimize Leaching Risk?
- Where to Band Phosphorus for Maximum Root Uptake?
- Why NPK Alone Cannot Sustain Soil Health for 20 Years?
- No-Till vs. Conventional: Which Protocol Suits Your Soil?
Why Your Fertilizer Fails Despite High Application Rates?
One of the most perplexing issues for growers is seeing poor crop response despite applying fertilizer at or above recommended rates. The cause is often not a deficiency in the soil, but a chemical traffic jam known as nutrient antagonism. This occurs when an excess of one nutrient interferes with the uptake of another. The elements are present, but the plant’s roots are physiologically unable to absorb them in the correct balance. It’s like having a full pantry but the wrong key to open the door.
A classic example is the relationship between potassium (K), calcium (Ca), and magnesium (Mg). These three positively charged cations compete for the same absorption sites on plant roots. When one is in vast excess, it crowds out the others. For instance, excessively high potassium levels, often a result of repeated applications of potash, can induce a magnesium deficiency in the crop, even if the soil test shows adequate Mg levels. This is a critical insight, as Dr. Luke Gatiboni, a soil fertility specialist at NC State University, points out:
The amount of one nutrient such as potassium if in excess can negatively impact root uptake of other nutrients such as calcium and magnesium.
– Dr. Luke Gatiboni, NC State University Crop and Soil Science
This isn’t just theory; it has measurable thresholds. In fact, research demonstrates that when the potassium-calcium activity ratio exceeds 10, significant antagonism occurs, reducing calcium uptake and potentially affecting fruit quality and plant structure. Therefore, interpreting your soil test requires looking at the ratios between cations, not just their individual values. A “high” K reading might actually be a red flag signaling a potential imbalance that no amount of additional fertilizer can fix.
How to Take Soil Samples That Reveal Deep Hardpans?
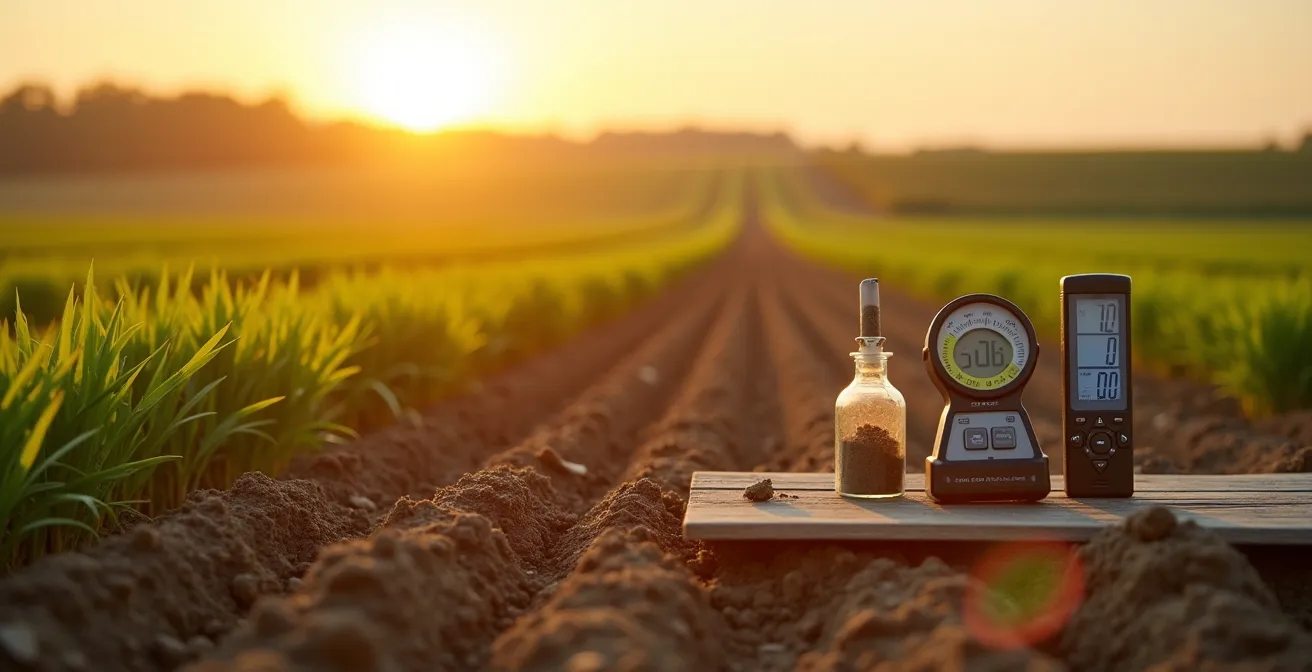
A standard 6-inch soil sample provides valuable chemical information about the topsoil, but it can completely miss the most significant yield-limiting factor on your farm: soil compaction. A dense, compacted layer, often called a hardpan or plow pan, can form just below the typical tillage depth. This physical barrier acts like a concrete floor, preventing roots from exploring deeper soil profiles for water and nutrients. Applying fertilizer to the surface is futile if the roots are trapped in the top few inches.
To diagnose this issue, you must sample with the specific intention of finding these layers. This means going beyond the simple soil probe. The most effective tool for this job is a soil penetrometer (or cone penetrometer). This device measures the resistance (in pounds per square inch, PSI) as you push it into the ground. A sudden spike in resistance indicates a compacted zone. By taking readings at multiple points across a field, you can map the depth and extent of hardpans, revealing why certain areas consistently underperform.
The visual below illustrates what a penetrometer reading can reveal. Where the topsoil is loose and friable, roots can grow freely. But once they hit the dense hardpan, their growth is stunted and forced to spread horizontally. This is where your yield potential is being choked off, and it’s a problem that a standard chemical test will never see.
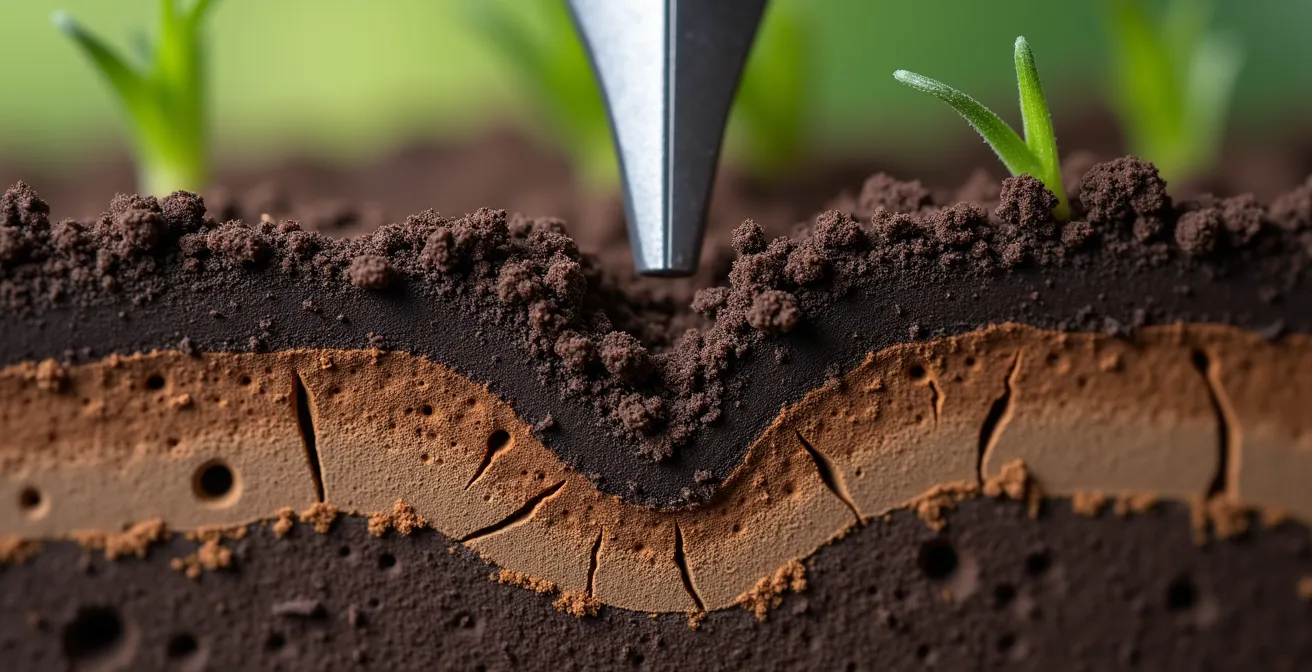
For a complete diagnosis, complement penetrometer readings with digging a small soil pit. Visually observing how root patterns change with depth provides undeniable proof of compaction. You’ll often see a dense network of roots spreading out right on top of the hardpan, unable to break through. Only by identifying these physical barriers can you develop a strategy to fix them, such as deep ripping or using cover crops with strong taproots, thereby unlocking the full potential of your soil and fertilizer.
Lime or Gypsum: Which Amendment Fixes Your Clay Soil?
When a soil test comes back with a low pH, the default recommendation is often “apply lime.” However, this is an oversimplification that can waste money or even create new problems. The choice of soil amendment, particularly in clay soils, should be based on a deeper understanding of your soil’s base cation saturation ratio (BCSR). This analysis looks at the percentage of cation exchange sites occupied by key nutrients like Calcium (Ca), Magnesium (Mg), and Potassium (K). It tells you not just the pH, but the *balance* of the elements driving that pH.
In heavy clay soils, poor structure is often as big a problem as acidity. Here, the choice between calcitic lime (calcium carbonate), dolomitic lime (calcium-magnesium carbonate), and gypsum (calcium sulfate) is critical. – Calcitic Lime is best when both your pH and calcium levels are low. – Dolomitic Lime is the choice when both pH and magnesium are low. – Gypsum is the problem-solver for a different issue: it supplies calcium without raising the pH. It is uniquely effective at improving soil structure in soils with excess magnesium or sodium, which cause clay particles to disperse and the soil to become tight and cloddy.
Applying dolomitic lime to a soil that is already high in magnesium can worsen soil structure and exacerbate nutrient antagonism with potassium. The following table, based on soil test interpretation principles, provides a clear decision matrix for choosing the right amendment based on your specific soil conditions.
| Condition | Ca Saturation | Mg Saturation | pH Level | Recommended Amendment | Application Rate |
|---|---|---|---|---|---|
| Low Ca + Low pH | <65% | Variable | <6.0 | Calcitic Lime | Based on buffer pH |
| Low Mg + Low pH | Adequate | <10% | <6.0 | Dolomitic Lime | 1-2 tons/acre |
| High Mg + Poor Structure | Variable | >20% | Any | Gypsum | 1-2 tons/acre |
| High Sodium (SAR >5) | Variable | Variable | Any | Gypsum | 2-4 tons/acre |
By using this more nuanced approach, you move from simply adjusting pH to actively rebalancing your soil’s fundamental chemistry. This leads to better soil structure, improved water infiltration, and more efficient nutrient uptake—a far greater return on your amendment investment. Using data from a source like the North Carolina Department of Agriculture & Consumer Services reinforces that these cation relationships are central to modern soil management.
The Tillage Habit That Destroys Soil Aggregates in 3 Seasons
Good soil structure, or “tilth,” is the foundation of a productive field. It’s defined by the presence of stable soil aggregates—small clumps of soil particles held together by organic matter, clay, and microbial glues. These aggregates create pore spaces that are essential for water infiltration, gas exchange, and root growth. However, one common tillage habit can systematically destroy this vital structure: tilling the soil when it’s too wet.
When you work saturated soil, especially with aggressive implements like a rototiller, you don’t fracture the soil; you smear it. This action breaks down the aggregates and compacts the soil particles into a dense, plaster-like layer. The damage is cumulative and rapid; field observations show soil aggregate destruction within three growing seasons of repeated wet tillage. The result is a field with poor drainage, increased runoff and erosion, and an environment where plant roots struggle for oxygen and water.
Avoiding this destructive cycle requires a shift from a calendar-based tillage schedule to one based on soil conditions. It’s about developing a feel for your soil and prioritizing its long-term health over short-term convenience. The following checklist provides a framework for auditing your tillage practices to ensure they are building, not degrading, your soil structure.
Your Action Plan: Auditing Tillage for Soil Health
- Points of Contact: Before any tillage, check soil moisture at your target tillage depth (e.g., 4 inches). Squeeze a handful of soil. If it forms a sticky mud ball instead of a crumbly mass, it’s too wet.
- Collecte Data: Inventory your tillage implements. Are you relying on aggressive tools like rototillers or discs? Consider less disruptive options like a field cultivator or strip-till rig for secondary passes.
- Assess Coherence: Confront your tillage habits with your soil health goals. Does your desire for a “perfectly clean” seedbed lead to excessive passes? Limit secondary tillage to an absolute maximum of two passes per season.
- Analyze Impact: Evaluate your residue management. Tilling in high-carbon residues (like corn stalks or a cereal rye cover crop) feeds the microbes that build aggregates. A C:N ratio above 25:1 is ideal for building structure.
- Plan Integration: Create a plan to replace tillage with other practices where possible. For example, use cover crops for weed suppression instead of an extra cultivation pass.
By adopting these principles, you protect the soil aggregates that are the lifeblood of your field. This ensures that the money you spend on fertilizer and seed is invested in a productive environment, not one that is physically constrained by poor management.
When to Apply Nitrogen to Minimize Leaching Risk?
Nitrogen (N) is the most critical—and often most mismanaged—nutrient in farming. Its mobility in the soil makes it highly susceptible to loss, particularly through leaching, where it is washed below the root zone by rainfall or irrigation. Applying nitrogen at the wrong time is not just a waste of money; it’s an environmental concern. The key to effective nitrogen management is timing your application to match crop uptake and, crucially, biological activity in the soil.
The most important process governing nitrogen availability is nitrification, the conversion of stable ammonium (NH4+) into highly leachable nitrate (NO3-) by soil bacteria. This process is almost entirely temperature-dependent. Applying nitrogen to cold soils is ineffective because the bacteria responsible for making it available to plants are dormant. The fertilizer simply sits there, waiting for a heavy rain to wash it away before the crop can use it. As a guideline, significant biological activity does not kick in until the soil warms up.
Scientific research provides a clear and actionable threshold for this process. In fact, research confirms nitrification doesn’t occur significantly until soil temperatures consistently exceed 50°F (10°C) at a 4-inch depth. Applying the bulk of your nitrogen before your soil reaches this temperature is a high-risk gamble. A much safer and more efficient strategy is to use split applications: apply a small amount of “starter” N at planting to get the crop going, and then apply the majority of the N as a sidedress when the plants are entering their rapid growth phase (e.g., V5-V6 stage in corn) and the soils are warm and biologically active.
This strategy, known as “feeding the crop, not the soil,” ensures the nitrogen is present exactly when the plant needs it most, dramatically reducing the risk of loss to the environment. It requires more management than a single pre-plant application, but the savings in fertilizer costs and the improvement in nitrogen use efficiency provide a significant return on that effort.
Where to Band Phosphorus for Maximum Root Uptake?
Unlike nitrogen, phosphorus (P) is extremely immobile in the soil. It tends to bind tightly to soil particles, especially in soils with high or low pH, and moves very little from its point of application. This means that broadcasting phosphorus fertilizer across the entire field surface can be highly inefficient. If it’s not placed where young, developing roots can find it, it’s essentially unavailable to the crop for that season. This is why placement is paramount for phosphorus.
The most effective method for ensuring P availability, especially in soils testing low for the nutrient, is banding. Banding involves placing a concentrated strip of fertilizer in or near the seed row at planting. This creates a zone of high P concentration that emerging roots can grow directly into, ensuring the young plant gets the critical early-season nutrition it needs to establish a robust root system and get off to a strong start. This is often referred to as a “starter” fertilizer application.
So, when is banding a necessity versus a “nice-to-have”? Soil test interpretation provides a clear directive. Extensive soil testing research indicates that when Olsen phosphorus falls below 15 ppm (parts per million), a banded starter application is critical for optimizing yields. Below this threshold, the soil simply cannot supply enough P to a young root system quickly enough, and a broadcast application will not be efficient enough to overcome this deficiency. In this scenario, banding is no longer an option; it’s a requirement for profitable farming.
Even in soils with higher test levels, starter banding can provide an insurance policy against cold, wet spring conditions that can temporarily reduce P availability. By concentrating this immobile nutrient directly in the root zone, you give your crop its best possible chance to thrive from day one, maximizing the return on every pound of phosphorus fertilizer you purchase.
Key Takeaways
- Fertilizer failure is often due to physical barriers like hardpans or chemical imbalances (nutrient antagonism), not just low nutrient levels.
- Reading your soil test should involve analyzing nutrient ratios (e.g., Ca:Mg) and using tools like penetrometers to find compaction zones.
- The timing of nitrogen application (waiting for soils >50°F) and the placement of phosphorus (banding in low-P soils) are critical for preventing waste and maximizing uptake.
Why NPK Alone Cannot Sustain Soil Health for 20 Years?
A management strategy focused solely on replacing the Nitrogen (N), Phosphorus (P), and Potassium (K) removed by a crop is a recipe for long-term soil degradation. This “NPK-only” approach treats the soil like a hydroponic medium, ignoring the biological and physical components that are the true engine of soil fertility. While NPK fertilizers can produce high yields in the short term, they cannot sustain the system. Over time, this narrow focus leads to a decline in soil health, creating a dependency on ever-increasing inputs to maintain yields.
The missing pieces in the NPK-only puzzle are organic matter and microbial life. Organic matter is the cornerstone of a healthy soil. It improves aggregate stability, increases water-holding capacity, enhances nutrient cycling, and provides the food source for the vast community of bacteria, fungi, and other organisms that make nutrients available to plants. A purely chemical fertilization program starves this microbial community and slowly depletes organic matter reserves.
This is why a long-term perspective, supported by comprehensive and consistent soil testing, is essential for sustainable productivity. As highlighted in a review on the topic, the true value of testing emerges over time. This is a point well-articulated by agricultural science experts:
Soil testing measures organic matter content, pH, and extractable nutrient concentrations useful in formulating and improving soil fertility programs, particularly when conducted for several consecutive years.
– ScienceDirect Agricultural Sciences, Soil Testing Overview
Tracking trends in organic matter, pH, and cation balance over a 5, 10, or 20-year period allows a farmer to move from being reactive to being proactive. Instead of just replacing NPK, you begin managing the entire soil ecosystem. This involves practices like cover cropping, reduced tillage, and manure or compost application—all of which feed the soil biology and build organic matter. This holistic approach builds a more resilient, self-sufficient soil that is less prone to the problems of compaction, nutrient lock-up, and leaching, ultimately leading to more stable and profitable farming over the long haul.
No-Till vs. Conventional: Which Protocol Suits Your Soil?
The final piece of the precision fertilization puzzle is deciding on a tillage system. The choice between conventional tillage and a reduced-tillage or no-till system has profound implications for soil health, erosion, and nutrient management. There is no one-size-fits-all answer; the optimal system depends entirely on your specific soil properties, climate, and management goals. Your soil test data, when interpreted correctly, provides the roadmap for making this critical decision.
Conventional tillage can be beneficial in certain situations, such as warming up cold, poorly drained soils in the spring or incorporating amendments and breaking up surface compaction. However, it can also destroy soil aggregates, reduce organic matter, and increase the risk of erosion. No-till, on the other hand, excels at building soil organic matter, improving water infiltration, and protecting the soil surface. But it can be challenging on heavy, poorly drained clay soils, which may become cold, wet, and compacted without some form of tillage.
The decision requires a careful weighing of your soil’s inherent characteristics. High clay content might favor some tillage to manage drainage, while a soil already high in organic matter is a prime candidate for no-till. The following table synthesizes key soil test indicators to help guide your choice between systems, moving you toward a data-driven decision that aligns with your soil’s capabilities.
| Soil Parameter | Favors No-Till | Favors Conventional | Transition Strategy |
|---|---|---|---|
| Clay Content | >30% | <20% | Gradual reduction |
| Organic Matter | >3% | <2% | Build OM first |
| Drainage Class | Well-drained | Poorly drained | Improve drainage |
| Compaction Risk | Low | High (silty) | Strip-till option |
| P/K Stratification | Acceptable | Severe (>3:1 ratio) | Strategic tillage |
By using your soil test as a diagnostic tool, you can select a tillage protocol that works *with* your soil’s natural tendencies, not against them. This may mean adopting a hybrid approach, such as strip-tillage, which combines the soil-warming benefits of tillage in the seed row with the soil-preserving benefits of no-till between the rows. Making an informed choice based on data is the ultimate expression of precision soil management.
To apply these advanced principles, the next step is to re-evaluate your latest soil test through this new lens of physical, chemical, and biological interactions. By doing so, you can build a truly tailored fertility plan for the upcoming season that maximizes every dollar spent on fertilizer.