Fixing heavy clay soil isn’t about fighting it with tillage; it’s about activating its internal chemistry and biology to build structure from within.
- This involves using chemical amendments like gypsum to flocculate clay particles and leveraging biological “glues” from root exudates and earthworms.
- A successful transition to no-till on clay often requires a strategic intermediate phase with tools like strip-till and targeted drainage.
Recommendation: Start by diagnosing your soil’s specific issue (sodicity, compaction) to choose the right amendment strategy instead of applying generic solutions.
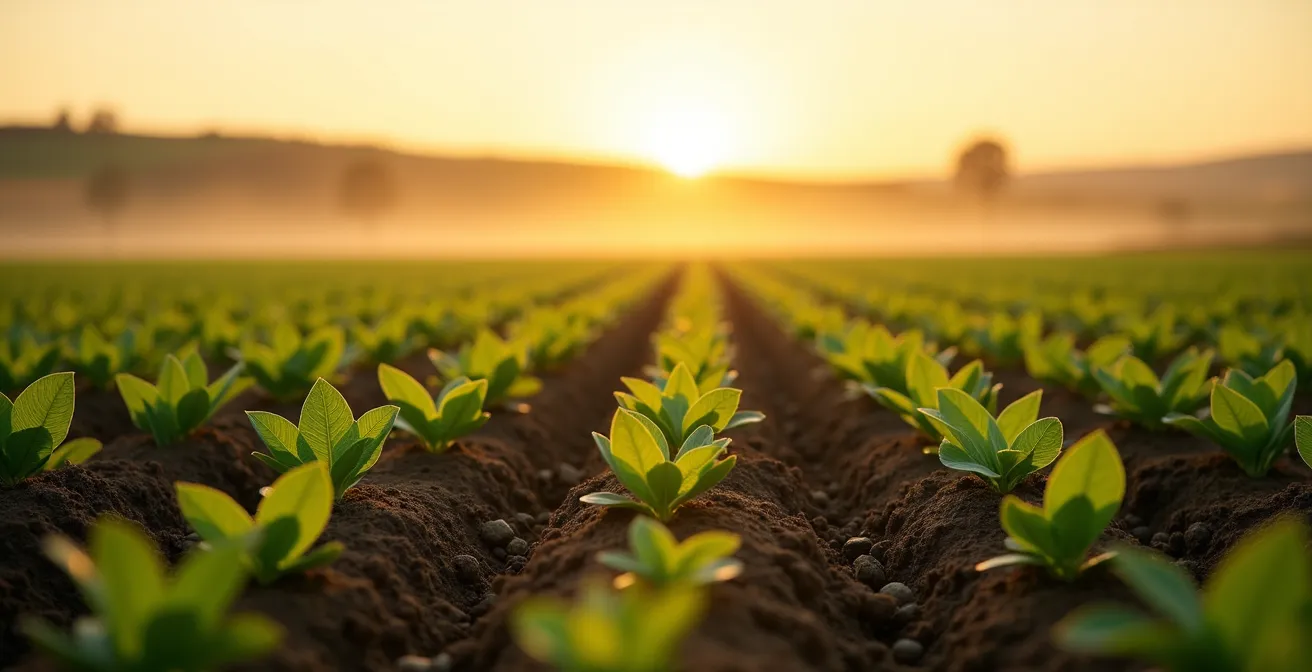
For farmers working with heavy clay, the sight of standing water after a rain and the struggle of young roots to penetrate dense ground are all too familiar. These soils, rich in nutrients, often fail to deliver on their promise due to poor structure. The default response for generations has been mechanical intervention: harrowing, plowing, and tilling to physically break up the soil. But this approach is often a short-term fix that can exacerbate the problem in the long run, leading to a destructive cycle of compaction and intervention.
The common advice to simply “add more organic matter” is a step in the right direction, but it’s an incomplete prescription. It overlooks the intricate physics and biology that govern soil health. The real key to transforming heavy clay without constant tillage lies not in brute force, but in fostering the conditions for the soil to heal and structure itself. It’s about becoming a catalyst for natural processes rather than a constant manipulator of the physical environment.
This guide moves beyond generic advice to explore the specific mechanisms that build resilient soil structure. We will delve into the science of why frequent tillage is so damaging and present a suite of biological and chemical strategies that work with your soil, not against it. From understanding the chemical reaction of gypsum to cultivating an army of earthworms, you will learn how to create a porous, well-aerated, and self-sustaining soil ecosystem that supports healthy crops year after year. This is about working smarter, using the power of nature to do the heavy lifting for you.
To guide you through this process, we’ve structured this article to tackle the core challenges and solutions systematically. Explore the sections below to build a comprehensive, no-till strategy for your heavy clay fields.
Summary: A Practical Guide to Building No-Till Clay Soil Structure
- Why Frequent Harrowing Destroys Soil Aggregates?
- How to Apply Gypsum to Flocculate Heavy Clay Soils?
- Root Exudates or Synthetic Conditioners: Which Binds Soil Better?
- The Seedbed Mistake That Leads to Severe Crusting
- How to Manage Fields to Double Earthworm Populations?
- Why Switching to No-Till Fails on Heavy Clay Soils?
- Subsoiler or Radish: Which Breaks Hardpans More Effectively?
- How to Diagnose Hardpans That Limit Root Penetration?
Why Frequent Harrowing Destroys Soil Aggregates?
The immediate fluffiness of a freshly tilled field is deceptive. While harrowing seems to solve compaction, it’s a primary driver in the degradation of soil structure, especially in heavy clay. The core of healthy soil lies in its soil aggregates: clumps of sand, silt, and clay particles held together by biological glues like root exudates and fungal hyphae. These aggregates create the pore spaces necessary for air and water to move through the soil. Frequent tillage, particularly with implements like a moldboard plow or harrow, is a physical assault on this delicate architecture.
This aggressive mechanical action shatters the aggregates, breaking them down into their individual, microscopic clay particles. The visual below represents this destructive process, where a once-structured and porous medium is pulverized into a dense, uniform mass.
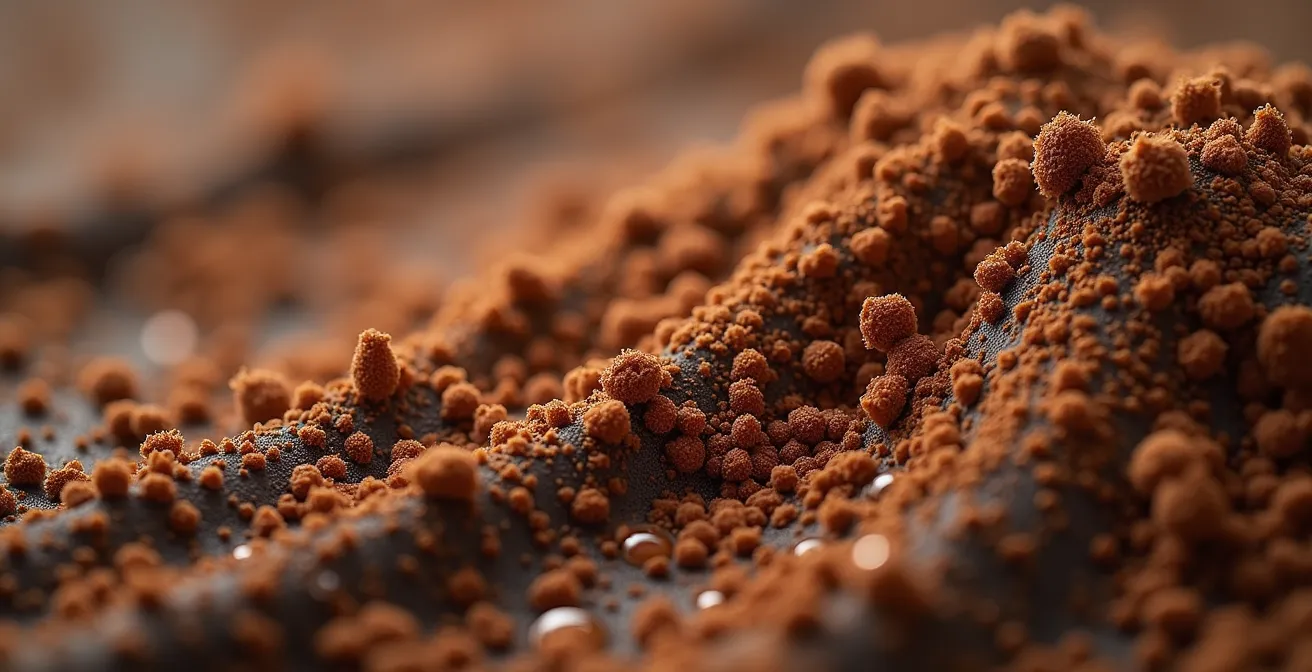
Once these protective aggregates are gone, the exposed organic matter is rapidly consumed by microbes, depleting the very “glue” that holds the soil together. When it rains, the now-loose clay particles are easily washed into soil pores, sealing the surface and leading to crusting, waterlogging, and poor aeration. Studies on long-term tillage confirm this, showing that conservation tillage methods are crucial for increasing the abundance and stability of water-stable macro-aggregates. An authoritative study on clay loam soils found that moldboard plowing is a main factor in the decline of soil aggregate quality, while no-till improves it.
How to Apply Gypsum to Flocculate Heavy Clay Soils?
While biology is the long-term builder of soil structure, chemistry can provide a powerful initial boost. For heavy clay soils, gypsum (calcium sulfate) is a key chemical tool. Its primary function is flocculation—a process where the calcium in gypsum causes tiny, suspended clay particles to clump together into small “flocs.” These flocs are the precursors to larger, more stable aggregates. This action improves water infiltration and reduces the stickiness and plasticity of the clay.
However, gypsum is not a one-size-fits-all solution. Its effectiveness is highly dependent on the specific chemistry of your soil, particularly whether it is sodic (high in sodium). As the comparative table below shows, its impact varies significantly based on underlying conditions. On sodic soils, where sodium causes clay particles to disperse, gypsum is highly effective. The calcium displaces the sodium, leading to dramatic improvements. On non-sodic clays, the benefits are more limited and short-lived.
| Soil Condition | Gypsum Effectiveness | Application Rate | Duration of Effect |
|---|---|---|---|
| Sodic Clay (high sodium) | Highly Effective | 2-5 tons/acre | 3-6 months |
| Non-sodic Clay | Limited Benefit | 0.5-2 kg/m² | Few months |
| Surface Crusting | Effective Short-term | 1 ton/acre surface | 2-4 months |
| Deep Compaction | Not Effective | N/A | N/A |
To avoid wasting time and money, a precise application strategy based on soil testing is non-negotiable. Applying gypsum correctly is a science, not guesswork. The following plan outlines the professional standard for using this powerful amendment.
Your Action Plan for Effective Gypsum Application
- Conduct Soil Testing: Obtain a recent soil test (less than one year old) to determine your soil’s Cation Exchange Capacity (CEC), existing calcium and magnesium levels, pH, and phosphorus.
- Calculate Application Rate: Use your soil test results to calculate the appropriate rate. According to NRCS standard guidelines, rates are based on CEC and should not exceed 1-5 tons per acre annually.
- Select and Apply Product: Use gypsum with fine particles (less than 1/8 inch) for faster reaction. For preventing crusting, broadcast it on the surface and do not incorporate it into the soil.
- Target Sodic Soils: Focus applications on sodic soils where the goal is to replace sodium with calcium and achieve an optimal Ca:Mg ratio of around 7:1.
- Monitor and Adjust: Track base saturation percentages in subsequent soil tests and cease applications once your target soil chemistry ratios have been achieved.
Root Exudates or Synthetic Conditioners: Which Binds Soil Better?
Once chemical flocculation provides an initial improvement, biology must take over to create lasting structure. This is where the power of living plants comes into play, specifically through their root exudates. As plants grow, their roots release a cocktail of sugary substances, primarily polysaccharides, into the soil. These substances act as a powerful biological glue, binding the small, flocculated clay particles and mineral fragments into large, stable macro-aggregates. This is the engine of natural soil building.
This organic binding process is fundamentally different and more resilient than what is offered by synthetic soil conditioners. While synthetic polymers can temporarily mimic this effect, they are an external input that degrades over time and does nothing to feed the soil food web. In contrast, root exudates are the currency of a thriving underground economy. They feed the bacteria and fungi that, in turn, produce their own glues (like glomalin from mycorrhizal fungi) and create extensive networks of hyphae that physically enmesh soil particles.
The key to maximizing this natural process is maintaining a continuous living cover on the soil. A diverse mix of cover crops with different root architectures—deep taproots from plants like daikon radish and fibrous root systems from grasses like rye or oats—ensures that these biological glues are produced at different soil depths throughout the year. This living ecosystem is far more effective and self-sustaining at binding soil than any synthetic product you can buy. The plant is not just growing *in* the soil; it is actively *building* its own ideal home.
The Seedbed Mistake That Leads to Severe Crusting
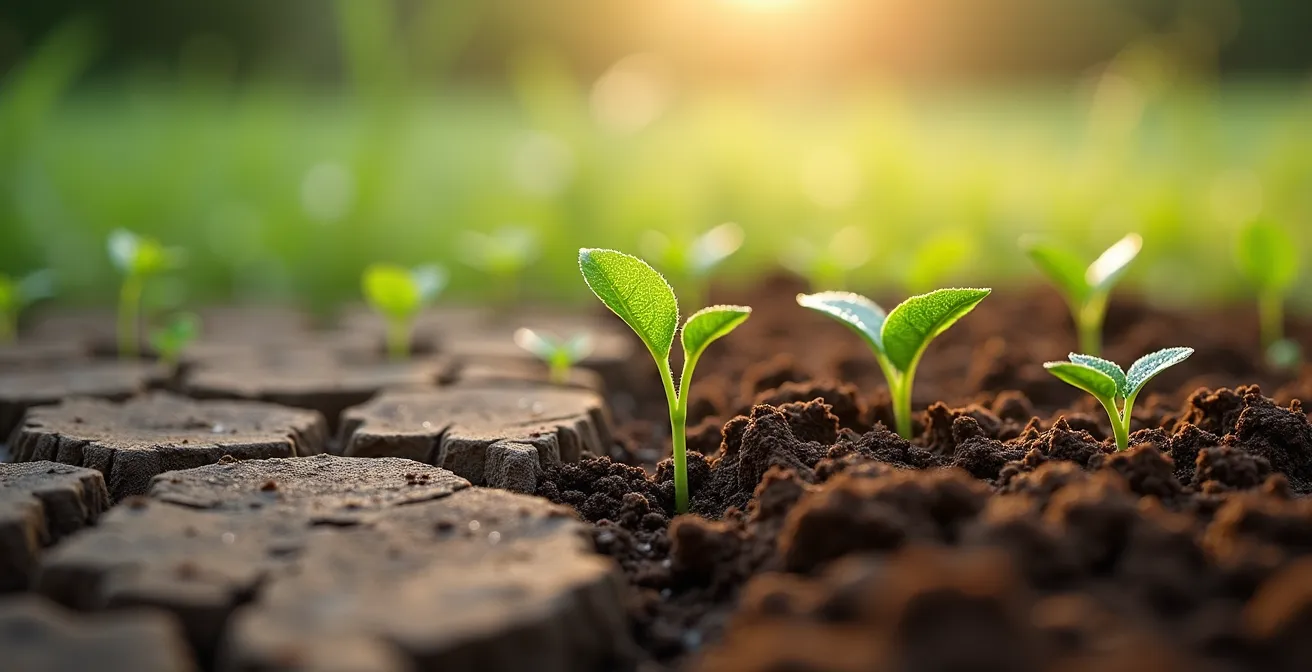
One of the most frustrating challenges in heavy clay is surface crusting. This occurs when a finely tilled and bare seedbed is exposed to rainfall. The impact of raindrops shatters any remaining weak aggregates, causing individual clay particles to become suspended in the water. As the soil surface dries, these fine particles settle into a dense, cement-like layer that can be impossible for delicate seedlings to break through. This single mistake can lead to catastrophic germination failure.
The fundamental error is leaving the soil surface exposed. A bare field is a vulnerable field. The solution is to mimic nature by always keeping the soil covered. A layer of organic mulch or crop residue acts as a protective shield. It absorbs the kinetic energy of raindrops, preventing them from pulverizing the soil surface. This allows water to percolate slowly into the soil profile rather than sealing it off. The image below provides a stark visual contrast between a crusted, failed surface and one protected by mulch, where seedlings can emerge freely.
In no-till systems, the residue from the previous crop serves this purpose. In situations where residue is insufficient, a light application of mulch (like straw) can be a field-saver. Furthermore, managing surface chemistry is also key. As a preventative measure, a light surface application of gypsum can be very effective. Research shows that increasing calcium concentration near the soil surface can reduce the risk of crusting by encouraging clay particles to flocculate rather than disperse. The crucial detail here is that the gypsum should be surface-applied and not incorporated, as its job is to treat the immediate surface layer where crusting begins.
How to Manage Fields to Double Earthworm Populations?
If roots provide the “glue” for soil structure, then earthworms are the “engineers.” These creatures are masters of bioturbation—the constant mixing and restructuring of soil. Their burrowing activity creates a network of macropores, which act as superhighways for air and water to penetrate deep into the soil profile. This is nature’s own subsoiling service. Furthermore, as earthworms consume organic matter and soil particles, their digestive process binds them into highly stable, nutrient-rich casts that are the building blocks of perfect soil structure.
On many conventionally farmed clay soils, earthworm populations are sparse due to tillage, lack of food, and chemical inputs. However, by creating the right habitat, it is possible to dramatically increase their numbers and harness their soil-building power. The goal is to provide two things: a stable home and a consistent food supply. This involves a radical shift from a bare, disturbed environment to a permanently covered, undisturbed one.
Managing your fields to become a thriving earthworm habitat requires a strategic approach to organic matter management. You can actively cultivate these beneficial engineers with the following practices:
- Maintain Deep Mulch: Consistently keep a 5-6 inch layer of organic mulch on the soil surface to regulate temperature and moisture.
- Provide a Diverse Diet: Apply a mix of high-carbon materials (like straw or wood chips) and high-nitrogen green materials (like legume cover crops or compost).
- Keep Soil Covered: Never leave soil bare. Use a rotation of cover crops to ensure there are living roots in the ground for as much of the year as possible.
- Preserve Their Tunnels: In a no-till system, the root channels left behind after a crop dies become permanent burrows for earthworms. Avoid destroying this infrastructure.
- Introduce New Populations: Top-dressing with high-quality, worm-filled compost can introduce beneficial species and give local populations a boost.
Why Switching to No-Till Fails on Heavy Clay Soils?
Many farmers who attempt to switch to no-till on heavy clay soils give up in frustration after a season or two. They report that fields become cold, stay wet for longer in the spring, and suffer from poor germination. These are real problems, but they are not a failure of the no-till principle itself. Rather, they are symptoms of transitioning on a soil that is not yet ready—a soil that lacks the internal structure to manage water effectively.
A degraded clay soil has very few macropores. Without tillage to create temporary porosity, water simply sits in the top few inches, creating the cold, anaerobic conditions that inhibit seed germination and early growth. As farmer Roger Wenning, who successfully transitioned his own tight clay soils, noted, the system only works when the water can get out. His experience highlights the critical missing piece in many failed transitions: adequate drainage.
Wenning tried no-till. ‘But the soil was wet and cold and no-till didn’t work well,’ he says. ‘The tile got the water out, and we found when that happened, no-till worked as well or better than tilling the land’.
– Roger Wenning, Farm Progress
This doesn’t mean a full-scale, expensive tiling project is the only answer. The key is to see the transition as a multi-year process. Instead of jumping directly from conventional tillage to pure no-till, a strategic intermediate phase is often required. A successful approach involves using tools like strip-till in conjunction with cover crops. Strip-tillage prepares a narrow, well-drained seedbed while leaving the majority of the soil surface undisturbed and covered. This gives the crop a good start while the cover crops and no-till zones begin the long-term work of building soil biology and structure. Once the soil becomes more resilient and internally drained, a full transition to no-till becomes not only possible but highly successful.
Subsoiler or Radish: Which Breaks Hardpans More Effectively?
Sometimes, the problem in a heavy clay field isn’t just surface compaction; it’s a deep, dense layer known as a hardpan. This layer, often created by years of plowing at the same depth, can be as hard as concrete and acts as an impenetrable barrier to roots and water. The conventional solution is mechanical: running a subsoiler to physically shatter the hardpan. While this provides an immediate fix, it’s a high-cost, high-energy operation that can sometimes lead to re-compaction if done under the wrong conditions.
The biological alternative is to use “bio-drills”—deep-rooted cover crops specifically chosen for their ability to penetrate dense soil layers. The champion in this category is the daikon radish or tillage radish. Its powerful taproot can grow several feet deep, driving through compacted layers that would stop other plants. When the radish dies and decomposes over the winter, it leaves behind a large, open channel filled with organic matter. These channels act as conduits for water and pathways for the roots of the following cash crop.
The choice between a mechanical subsoiler and a biological tool like radish depends on urgency, cost, and long-term goals. The table below compares these two approaches, highlighting that while a subsoiler is fast, the biological method provides more sustained benefits by building organic matter deep in the soil profile.
| Method | Initial Cost | Speed of Action | Long-term Benefits | Maintenance Required |
|---|---|---|---|---|
| Subsoiler | High (equipment rental) | Immediate | Limited, may recompact | May need repeating |
| Daikon Radish | Low (seed cost) | One growing season | Channels remain after decomposition | Annual replanting |
| Combination Approach | Medium | Fast initial + sustained | Best long-term structure | Reduced over time |
Often, the most effective strategy is a combination: a one-time subsoiling operation to initially fracture a severe hardpan, followed by a consistent program of deep-rooted cover crops to keep those channels open and build lasting biological structure. This integrated approach leverages the speed of mechanics with the sustainability of biology.
Key Takeaways
- Mechanical tillage is a primary cause of soil structure collapse in heavy clay, shattering the aggregates that are essential for aeration and drainage.
- Building resilient structure without tillage relies on a dual approach: chemical flocculation with amendments like gypsum and biological binding with root exudates and earthworms.
- A successful transition to no-till on clay is a process, not an event, often requiring intermediate steps like strip-tillage and a focus on improving drainage first.
How to Diagnose Hardpans That Limit Root Penetration?
Before you can fix a problem, you must correctly identify it. In heavy clay soils, it’s crucial to distinguish between general surface compaction and the presence of a distinct, deep hardpan layer. Applying surface treatments when the real problem lies 18 inches deep will yield disappointing results. Fortunately, several low-tech diagnostic methods can help you map out the structure of your soil profile and pinpoint compaction zones.
The first clue often comes from observing your crops and weeds. If you see roots growing horizontally instead of vertically, or a proliferation of weeds known to thrive in compacted soils (like bindweed, dock, or quackgrass), a hardpan is a likely culprit. Compaction significantly increases soil bulk density, and some erosion studies show a nearly 11% increase in bulk density at just 20cm deep, illustrating how quickly these dense layers can form. To confirm your suspicions, you can perform several simple, hands-on tests:
- The Clump Test: Take a handful of moist (not wet) soil and squeeze it. If it crumbles easily when poked, aggregation is good. If it stays in a hard, solid clump, it’s heavily compacted.
- The Penetrometer Test: Use a simple metal rod or a soil penetrometer. Push it into the soil at consistent moisture levels across the field. Note the depths where you feel significant resistance. This helps you map the depth and extent of the hardpan.
- The Root Depth Check: The most definitive test is to simply dig a test pit with a spade. Dig down two to three feet and examine the soil profile. You can physically see the hardpan layer and observe exactly where crop roots stop or are forced to turn sideways.
- The Slake Test: To assess aggregate stability, take a dry clump of soil and place it in a jar of water. A stable, well-aggregated soil will hold together for a long time. A poorly structured soil will quickly fall apart and turn the water cloudy.
These diagnostic steps are the foundation of an intelligent soil management plan. They move you from guessing to knowing, allowing you to apply the right solutions—be it deep-rooted cover crops for a hardpan or surface-applied gypsum for crusting—to the right place. This targeted approach is the essence of working with your soil’s natural systems, not against them.
Start today by performing a simple clump test or digging a test pit in your most challenging field. Understanding your soil’s unique profile is the most critical first step toward unlocking its full potential and building a resilient, productive, no-till system.